Existing Lawn
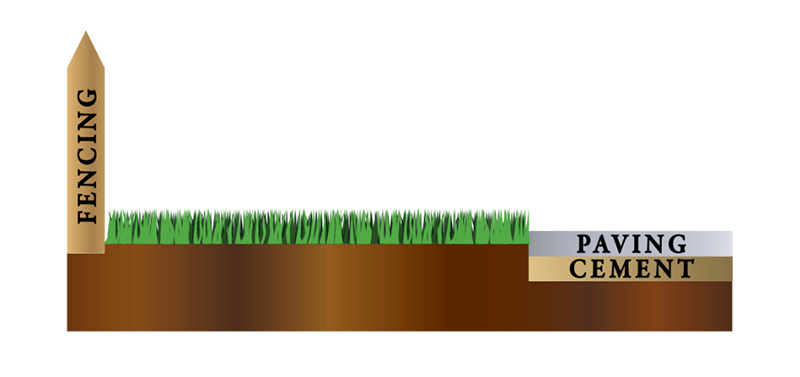
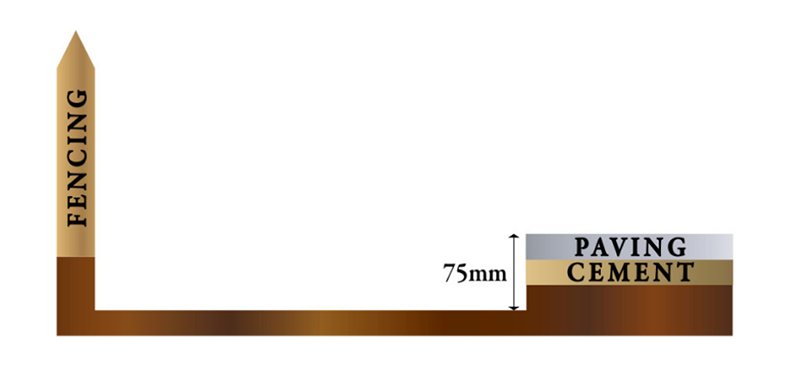
Excavation
Determine which installation process is a suitable fit for you:
This example shows a 75mm deep installation process, however if your using the 25mm installation process you would only need to excavate 25mm deep.
Excavate either 75mm or 25mm below any paving level to accept the Sub-base for your Installation.
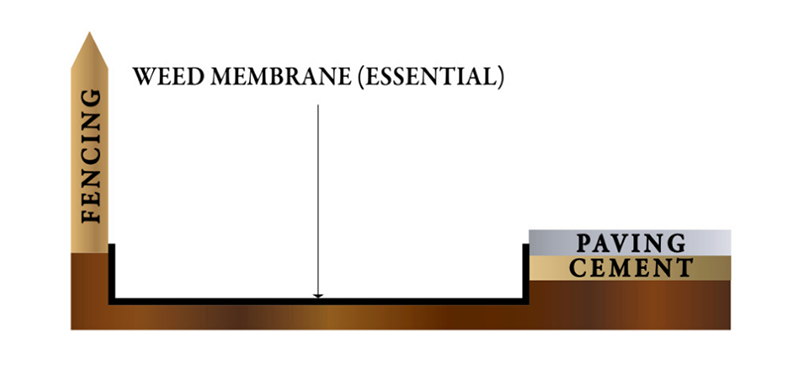
Weed Membrane (essential)
Install weed membrane directly onto your prepared surface using securing u-pins or galvanised nails, making sure you fully cover the exposed soil base.
50mm Primary Sub-base
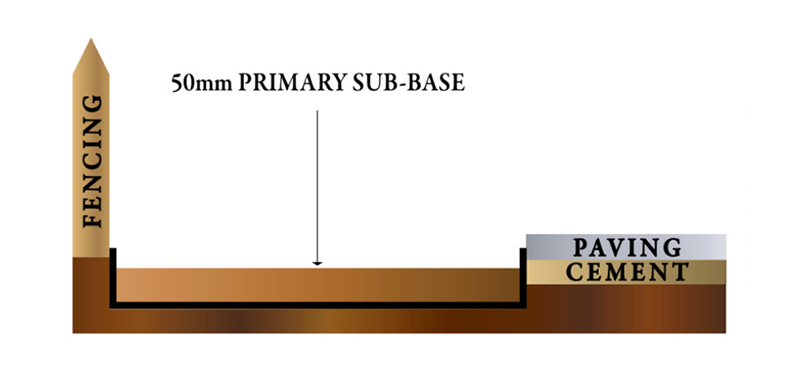
Add 50mm deep of your chosen primary Sub-base material and wacker plate level.
NOTE: This stage should only be carried out on a 75mm Sub-base installation and NOT a 25mm Sub-base installation.
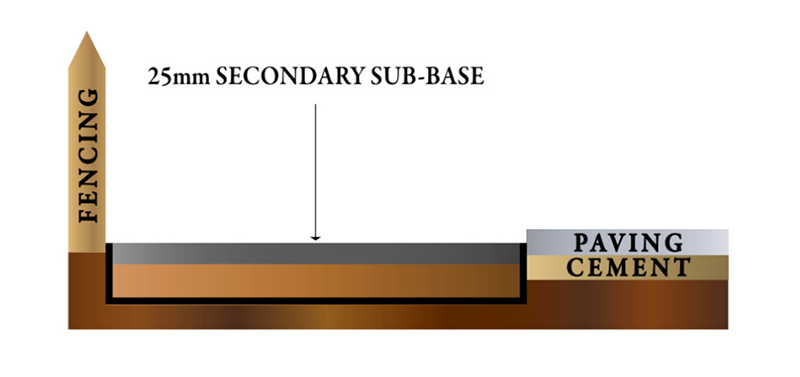
25mm Secondary Sub-base
Add 25mm deep of your chosen secondary Sub-base material and wacker plate level.
NOTE: This stage should be carried out on both a 75mm Sub-base installation and a 25mm Sub-base installation.
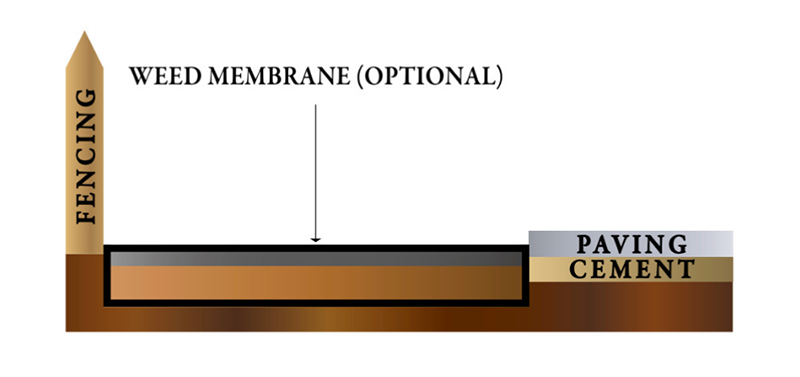
Weed Membrane - Layer 2 (optional)
Install a second layer of weed membrane on top of your sub-base using securing u-pins or galvanised nails, making sure you fully cover the entire surface.
Grass Installation
Carefully trim into place with a sharp Stanley Knife, cutting into the backing material and not the grass fibres.
Secure using artificial grass u-pins or galvanised nails.
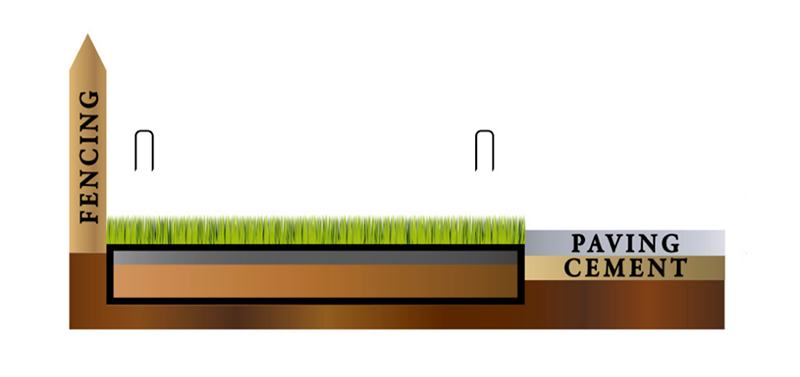
* Please Note: Do NOT use kiln dried sand to hold your lawn in place as this blocks drainage holes and provides a germinating base for seeds to sprout.
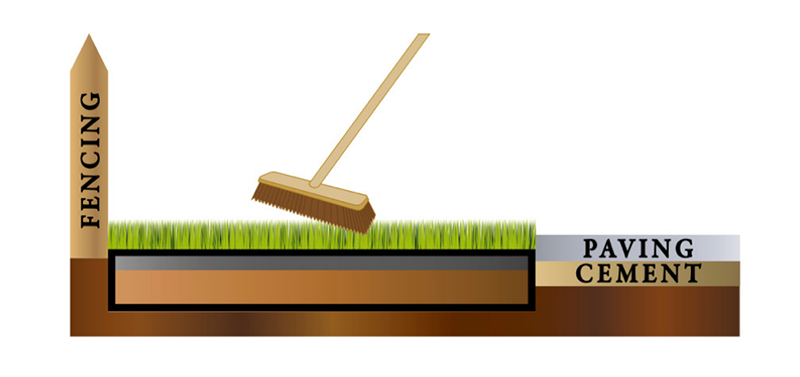
Brush-Up
Brush your newly installed artificial grass (against the grain) with a stiff broom or mechanical power brush to raise its fibres and create a perfectly manicured lawn.
Artificial Grass Ground Preparation Calculator
